
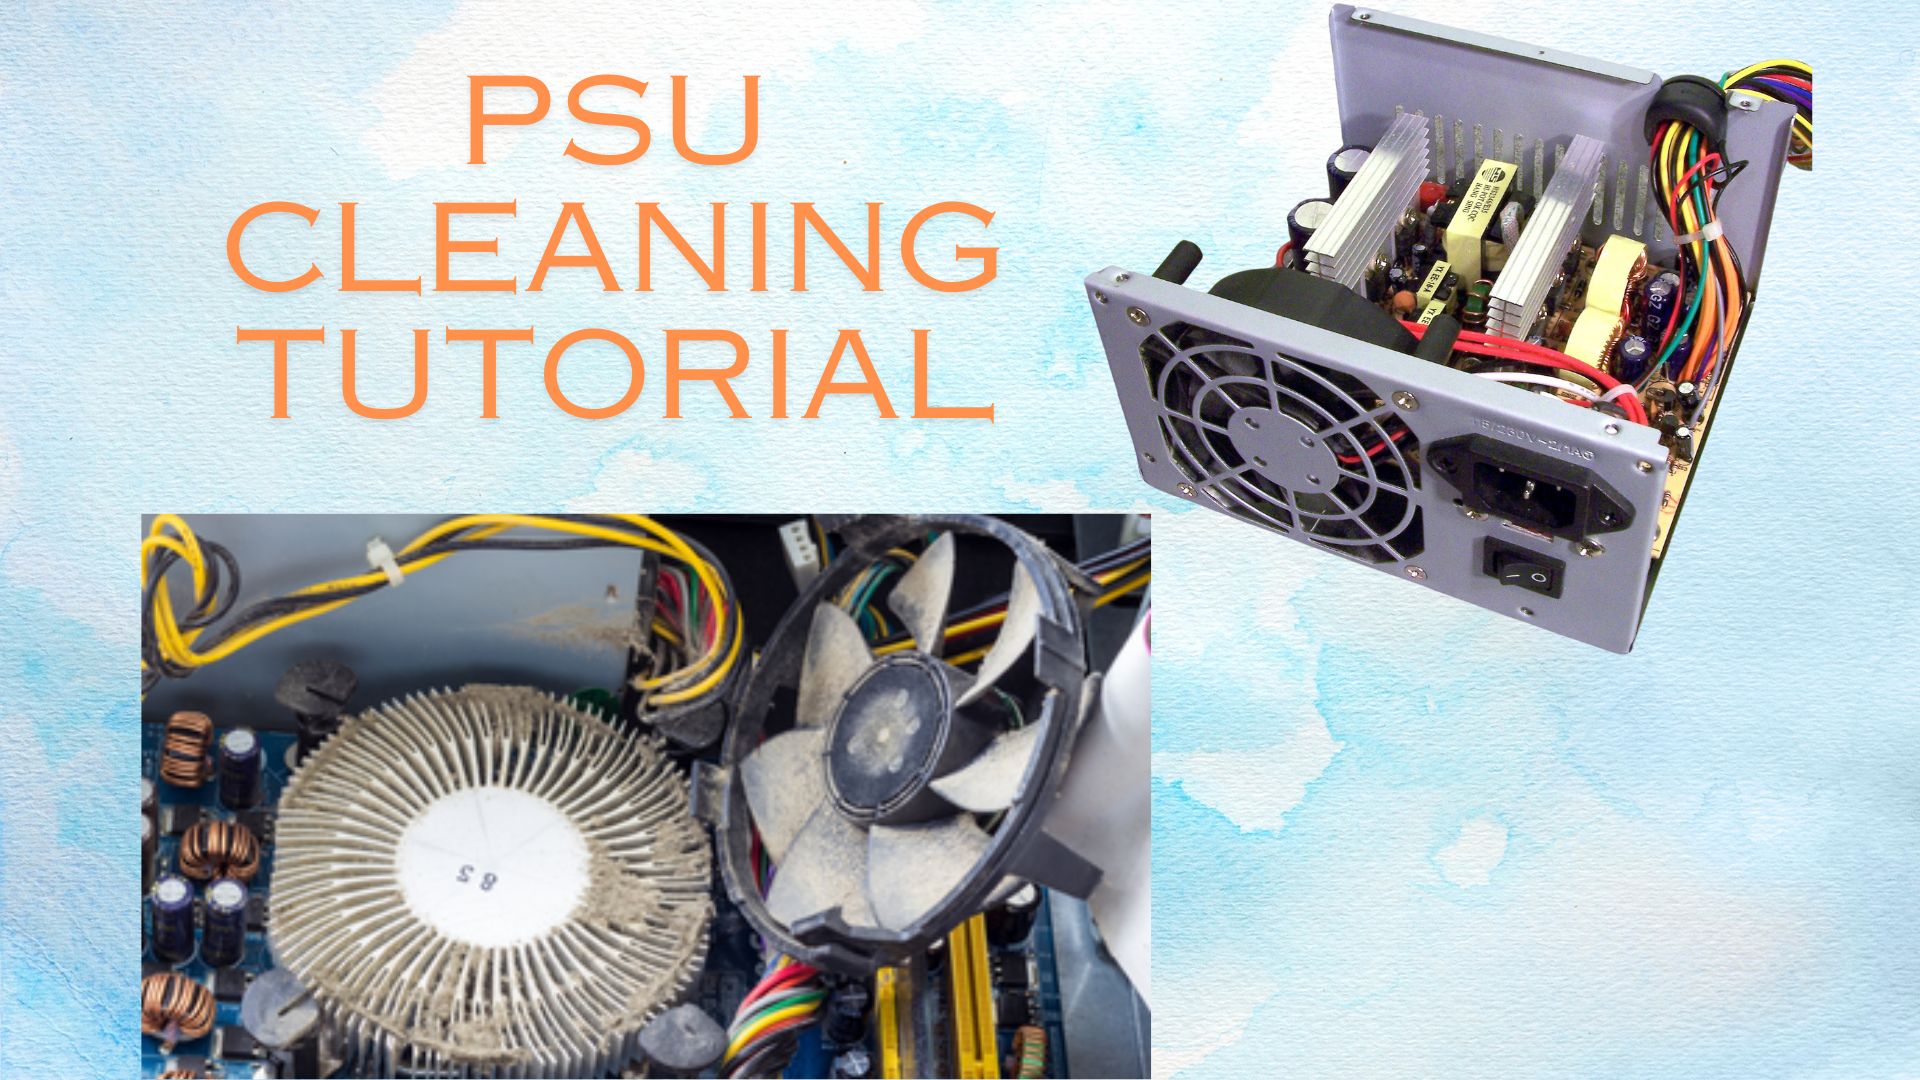
How to Safely Clean a PSU | A Step-by-Step Tutorial
Cleaning your Power Supply Unit (PSU) is an essential maintenance task that can significantly improve your computer’s performance and longevity. Over time, dust and debris can accumulate inside the PSU, leading to overheating, reduced efficiency, and even hardware failure. However, cleaning a PSU requires careful handling due to its sensitive components and the risk of electrical shock. This guide will walk you through the steps to safely clean your PSU, ensuring that you protect both yourself and your equipment. We’ll cover the necessary tools, safety precautions, and detailed cleaning techniques to help you maintain a dust-free environment inside your computer case. Whether you’re a seasoned builder or a novice user, understanding how to clean your PSU safely is crucial for keeping your system running smoothly and efficiently. Let’s dive into the process and ensure your PSU remains in top condition.
Why Clean a PSU?
There are a few key reasons why regularly cleaning your PSU is recommended:
1. Improved Efficiency – Dust acts as an insulator that hinders heat dissipation. A dirty PSU has to work harder to maintain safe operating temperatures, reducing overall efficiency. Cleaning allows the fan to move more air through unobstructed heatsinks and ventilation holes.
2. Reduced Fire Risk – Excess dirt buildup poses a fire hazard as it impedes airflow needed to cool internal components. Overheating increases the chances of a malfunction or short circuit that could spark an electrical fire. Regular cleaning lowers this risk.
3. Extended Lifespan – The buildup of dust forces a PSU to work much harder than intended by design. The added strain from heat and limited airflow accelerates component degradation over time. Proper cleaning maximizes a PSU’s usable service life.
4. Improved Performance – A dirty PSU may cause system instability, crashes, or weaker power delivery due to thermal issues. Cleaning removes restrictions, allowing for more stable power regulation and a healthier PC overall.
Safety Precautions:
Before starting any cleaning process, there are some important safety precautions to remember with a PSU:
- Unplug the PSU from the wall outlet. Make sure the PC is turned off and the cable is detached from the rear of the power supply.
- Discharge any stored capacitors. PSUs can hold dangerous amounts of electricity even when unplugged. Press and hold the power button on your computer chassis for 10 seconds to fully discharge any residual voltage.
- Work on a durable, non-conductive surface. Wood or firm plastic cutting boards work well. Avoid metallic or damp areas.
- Remove static electricity. Touch some exposed metal on your computer case before handling PSU components to discharge any static buildup.
- Be gentle with connectors. Firmly grasp plugs, not wires, when disconnecting and reconnecting cables so as not to stress or damage pins.
- Consider an anti-static wrist strap. These provide an extra layer of safety when handling sensitive electronic parts. Clip one end to an exposed ground source and wear on your wrist.
With the proper precautions in mind, you’ll be prepared to take on cleaning your power supply safely and avoid any chance of an electric shock injury. Always err on the side of caution when working with electrical components.
Gathering Tools and Materials:
Here are the basic tools and supplies you’ll need for cleaning your PSU:
- Compressed air: Useful for blowing out dust from hard-to-reach areas. Try to avoid canned air due to propellant emissions.
- Cleaning brushes: Small, ultrathin, or old toothbrushes work well for corners and difficult crevices.
- Shoe brush: Larger bristle brush for cobweb-style dust caked onto outer surfaces.
- Vacuum: Powerful but gentle suction for initial bulk dust and debris removal. The focus nozzle helps target small spaces.
- Isopropyl alcohol: Dampen Q-tips or cloth to dissolve stubborn grease buildup. Avoid getting any liquid inside the PSU.
- Cotton swabs: For dislodging dust on delicate electronics or wiping clean small areas.
- Paper towels: Absorb grease and wipe down surfaces during and after cleaning.
Armed with these basic tools, you’ll be equipped to deep clean both the external case and internal components of your PSU. Let’s break down the cleaning process step-by-step:
Cleaning Process:
1: Unplug and discharge: Ensure the PSU is fully disconnected from any power source beforehand. Press and hold the computer’s power button to discharge stored voltage.
2: Remove from case: Detach all power cables from the rear panel of the PSU. Unfasten screws securing it inside the computer case and gently slide out.
3: Vacuum exterior: Starting outside-in, use your vacuum attachment to suck up any dust accumulated on the external case surfaces like ventilation grills or screw ports.
4: Wipe surfaces: Lightly dab isopropyl alcohol on a cotton cloth or paper towel and wipe down all external case surfaces to dissolve greasy dust buildup.
5: Clean ventilation grill: Dislodge stubborn dust clumps in grills and heatsinks using compressed air, small brushes, or a vacuum crevice tool as needed.
6: Unpin cables: Unfasten any tie-wraps or clips securing internal cables to give yourself more room to clean. Be very careful not to stress any solder joints or component pins.
7: Vacuum internals: Gently suck up loose dust inside the PSU case using a powerful vacuum on low suction. Direct nozzle into all openings and corners.
8: Brush heatsinks: Carefully brush any heatsinks or boards to dislodge baked-on dust particles. Work methodically in one area at a time to avoid disturbing and unsettle debris.
9: components: For particularly dirty areas like capacitor banks or fan motors, use compressed air or cotton swabs moistened with isopropyl alcohol to cut through grime.
10: Reassemble cables: Repin all internal cables neatly back into place using fresh tie-wraps or cable management clips. Avoid over-tightening to stress components.
11: Replace in case: Double-check for any debris inside before sliding the PSU back into the computer case. Re-fasten screws securely.
12: Plug back in: Reattach all external cables to the rear panel I/O ports and plug the power cord back into the wall. You’re done!
By taking your time and following safety precautions, thoroughly cleaning both the internal and external areas of a PSU is very straightforward. Just be gentle and avoid any liquid ingress. With regular maintenance like this, your power supply unit will run cleaner, cooler, and deliver peak performance for years to come.
Maintenance Schedule:
Under light to moderate usage, most PSUs only require cleaning every 1-2 years, or when visible dust buildup becomes apparent. Those in particularly dusty environments may need attending more frequently every 6-12 months. Any signs your power supply is running hotter than normal or system instability occurs is also an indication it’s time for cleaning. Always err on the side of caution, as a clean PSU lasts longer and reduces the risk of overheating issues down the line. With the steps outlined in this guide, you now have everything needed to safely and efficiently deep clean your computer’s power source at home. Let me know if you have any other questions!
Final Thoughts On How To Safely Clean A PSU.
In conclusion of how to safely clean a PSU, regularly cleaning your computer’s power supply unit is an important maintenance task that should not be overlooked. As the heart of any PC’s electrical system, a dirty PSU has to work much harder than intended to regulate power safely. This extra strain leads to decreased efficiency, higher operating temperatures, and a significantly reduced usable lifespan. However, with the proper safety precautions and basic tools, thoroughly cleaning both the internal components and external case of a PSU is straightforward.
Following the detailed steps provided gives you the ability to extend the life of your power supply. Most importantly, cleaning on a regular schedule helps avoid potential overheating issues down the line that could damage other components or even cause fires. With just a little yearly maintenance, you can keep your computer running cleaner, cooler, and at peak performance for many years to come.
FAQs
Q: How often should I safely clean my PSU?
A: Under normal usage, every 1-2 years or when visible dust builds up is sufficient. High dust areas may need cleaning every 6-12 months.
Q: Is it safe to use canned air to safely clean the PSU?
A: While convenient, canned air is best avoided due to its propellant emissions. Compressed air is a safer option.
Q: Can I dismantle the PSU casing when cleaning?
A: No, the PSU should not be taken apart. Clean internally while fully assembled to avoid risking component or solder joint damage.
Q: What precautions should I take while cleaning?
A: Be sure to discharge any residual power, work on a non-conductive surface, and avoid liquids inside the PSU case.
Q: How do I remove dust deep inside fan grills or heatsinks?
A: Use compressed air, small brushes, or soft-bristled vacuum tools to dislodge stubborn dust from hard-to-reach crevices and holes.
Last Updated on 26 January 2025 by Ansa Imran

Haleema is an experienced PC builder who has been building PCs for the last couple of years. He has written several articles on PC components, including power supplies and graphics cards. In his articles, he explains how to check the compatibility of a power supply with a GPU and what things to consider when pairing them.